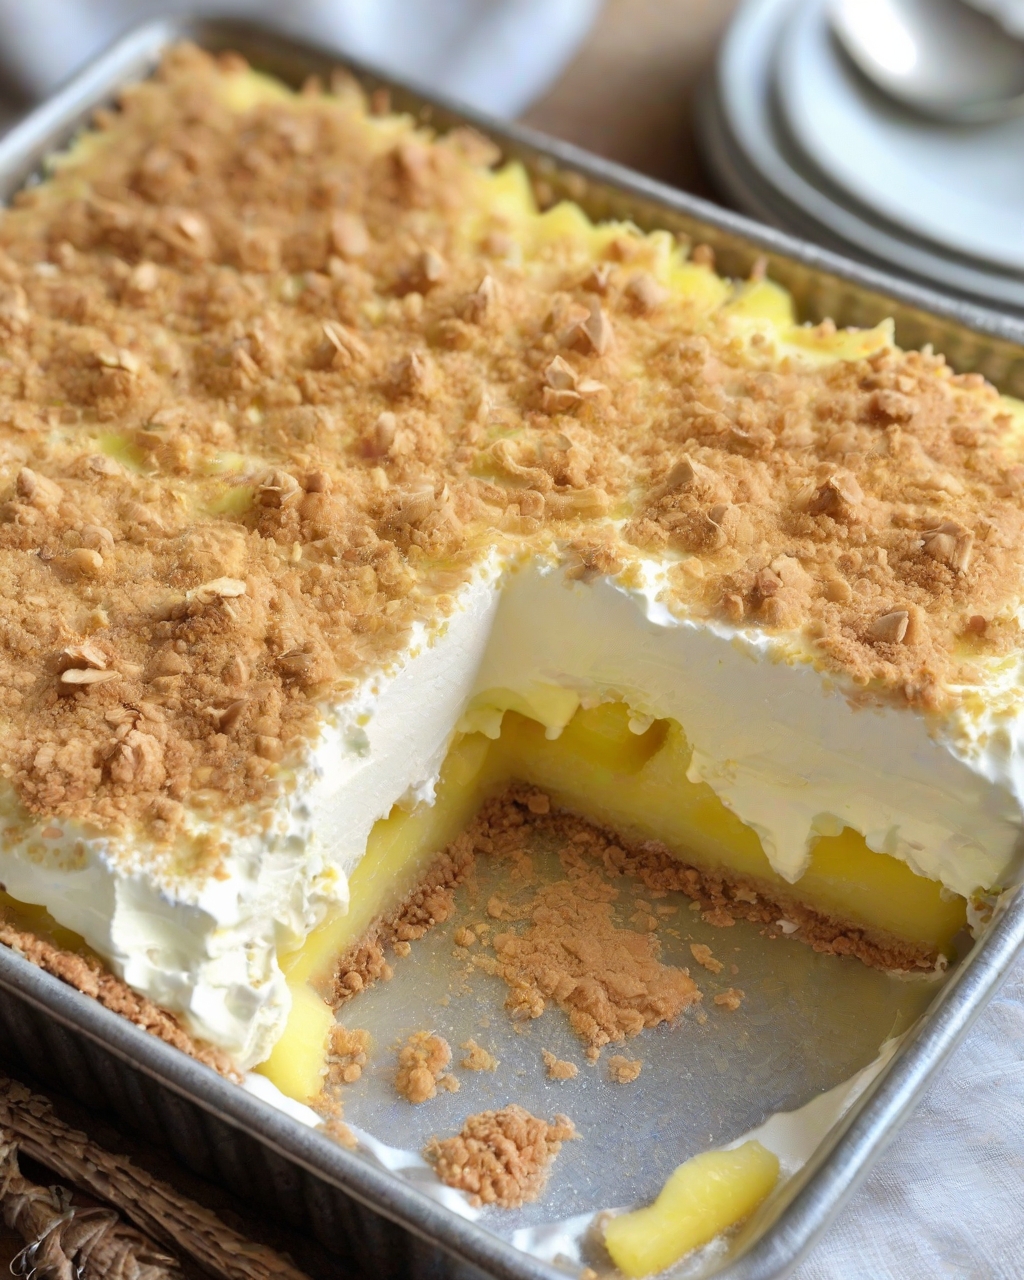
Some desserts don’t just satisfy your sweet tooth—they bring back memories. Pineapple Dream Dessert is one of those timeless recipes that instantly reminds you of family gatherings, festive celebrations, and the comforting joy of homemade treats. With its creamy layers, buttery graham cracker crust, and the bright sweetness of pineapple, this dessert has earned its place as a beloved classic in kitchens everywhere.
Simple to prepare yet incredibly delicious, Pineapple Dream Dessert is the kind of recipe that never goes out of style. Whether you’re making it for a potluck, holiday dinner, or just to enjoy at home, it’s guaranteed to be a crowd-pleaser.
A Dessert Rooted in Tradition
Pineapple Dream Dessert has been around for decades, quietly becoming a staple at family tables. Much like other nostalgic favorites, it carries a sense of tradition and comfort. Recipes like this are often passed down from generation to generation, slightly adapted over time but always holding onto their original charm.
It shares similarities with other classic pineapple-based desserts, but what makes it special is its simplicity and balance. The combination of creamy, sweet, and slightly tangy flavors creates a dessert that feels both indulgent and refreshing.
Why You’ll Love This Recipe
There are many reasons why this dessert continues to be so popular:
- Easy to make: No complicated techniques required
- Minimal ingredients: Uses simple pantry staples
- Perfect texture: Creamy layers with a slight crunch from the crust
- Make-ahead friendly: Ideal for busy schedules and gatherings
It’s one of those recipes that looks impressive but requires very little effort.
Ingredients Overview
This dessert is made with a handful of basic ingredients that come together beautifully:
For the Crust:
- Graham cracker crumbs
- Melted butter
The crust forms a buttery, slightly crunchy base that holds everything together.
For the Cream Layer:
- Cream cheese (softened)
- Butter
- Powdered sugar
This layer is rich, smooth, and slightly tangy, balancing the sweetness of the dessert.
For the Topping:
- Whipped topping (like Cool Whip)
- Crushed pineapple (well-drained)
This final layer adds lightness and a burst of fruity flavor.
Step-by-Step Instructions
1. Prepare the Crust
Begin by preheating your oven to 300°F (150°C). Mix graham cracker crumbs with melted butter until evenly combined. Press most of this mixture firmly into a square baking dish to form the base.
Bake for about 8–10 minutes, then allow it to cool completely. This step helps the crust set and develop a slightly crisp texture.
2. Make the Cream Cheese Layer
In a mixing bowl, beat together softened butter and cream cheese until smooth and creamy. Gradually add powdered sugar and continue mixing until well combined.
For an extra hint of flavor, fold in a small amount of crushed pineapple. Spread this mixture evenly over the cooled crust.
3. Prepare the Pineapple Topping
Gently fold the remaining crushed pineapple into the whipped topping. Make sure the pineapple is well-drained to avoid excess moisture.
Spread this light and fluffy mixture over the cream cheese layer.
4. Add the Final Touch
Sprinkle the remaining graham cracker crumbs over the top for a slightly crunchy finish.
5. Chill Before Serving
Refrigerate the dessert for at least 4 hours, though overnight chilling is ideal. This allows the layers to set properly and enhances the flavor.
Tips for Best Results
- Drain the pineapple well to prevent a soggy dessert
- Use softened cream cheese for a smooth texture
- Chill thoroughly before slicing for clean layers
- Press the crust firmly to keep it from crumbling
These small steps ensure your dessert turns out perfect every time.
Cool Whip vs Fresh Whipped Cream
Traditionally, this recipe uses whipped topping like Cool Whip because it’s stable and easy to work with. However, if you prefer a more natural approach, you can use freshly whipped cream instead.
Just keep in mind that fresh whipped cream is less stable, so the dessert may not hold its shape as firmly. To fix this, you can stabilize the whipped cream with a bit of gelatin or powdered sugar.
Fresh vs Canned Pineapple
Canned crushed pineapple is commonly used because it’s soft, sweet, and packed with juice that blends well into the dessert. Fresh pineapple can also be used, but it tends to be firmer and less juicy.
If using fresh pineapple, try to chop it finely and, if possible, let it sit in its juices to soften slightly before adding it to the recipe.
Variations You Can Try
This dessert is incredibly versatile, and you can easily customize it:
- Strawberry Dream Dessert: Swap pineapple for strawberries
- Tropical twist: Add shredded coconut for extra flavor
- Nutty crunch: Mix chopped pecans into the crust
- No-bake version: Skip baking the crust and refrigerate it instead
These variations allow you to create new flavors while keeping the same delicious base.
Storage and Make-Ahead Tips
Pineapple Dream Dessert is perfect for preparing in advance:
- Refrigerator: Store covered for up to 4 days
- Best served chilled: Keeps its structure and flavor intact
- Make ahead: Prepare a day before for best results
This makes it an excellent choice for parties and gatherings.
Perfect for Any Occasion
Whether you’re hosting a holiday dinner, attending a potluck, or simply craving something sweet, this dessert fits every occasion. Its light and refreshing flavor makes it especially popular during warmer months, but it’s delicious all year round.
It’s also a great choice when you need a reliable, no-fail dessert that everyone will enjoy.
Final Thoughts
Pineapple Dream Dessert is more than just a recipe—it’s a reminder of how simple ingredients can create something truly special. With its buttery crust, creamy layers, and sweet pineapple topping, every bite is rich, refreshing, and satisfying.
It’s easy to make, endlessly adaptable, and always a hit with family and friends. Once you try it, it’s sure to become a regular in your dessert rotation.
So go ahead, make a batch, and enjoy a dessert that’s as comforting as it is delicious—because some recipes never go out of style.

Leave a Reply