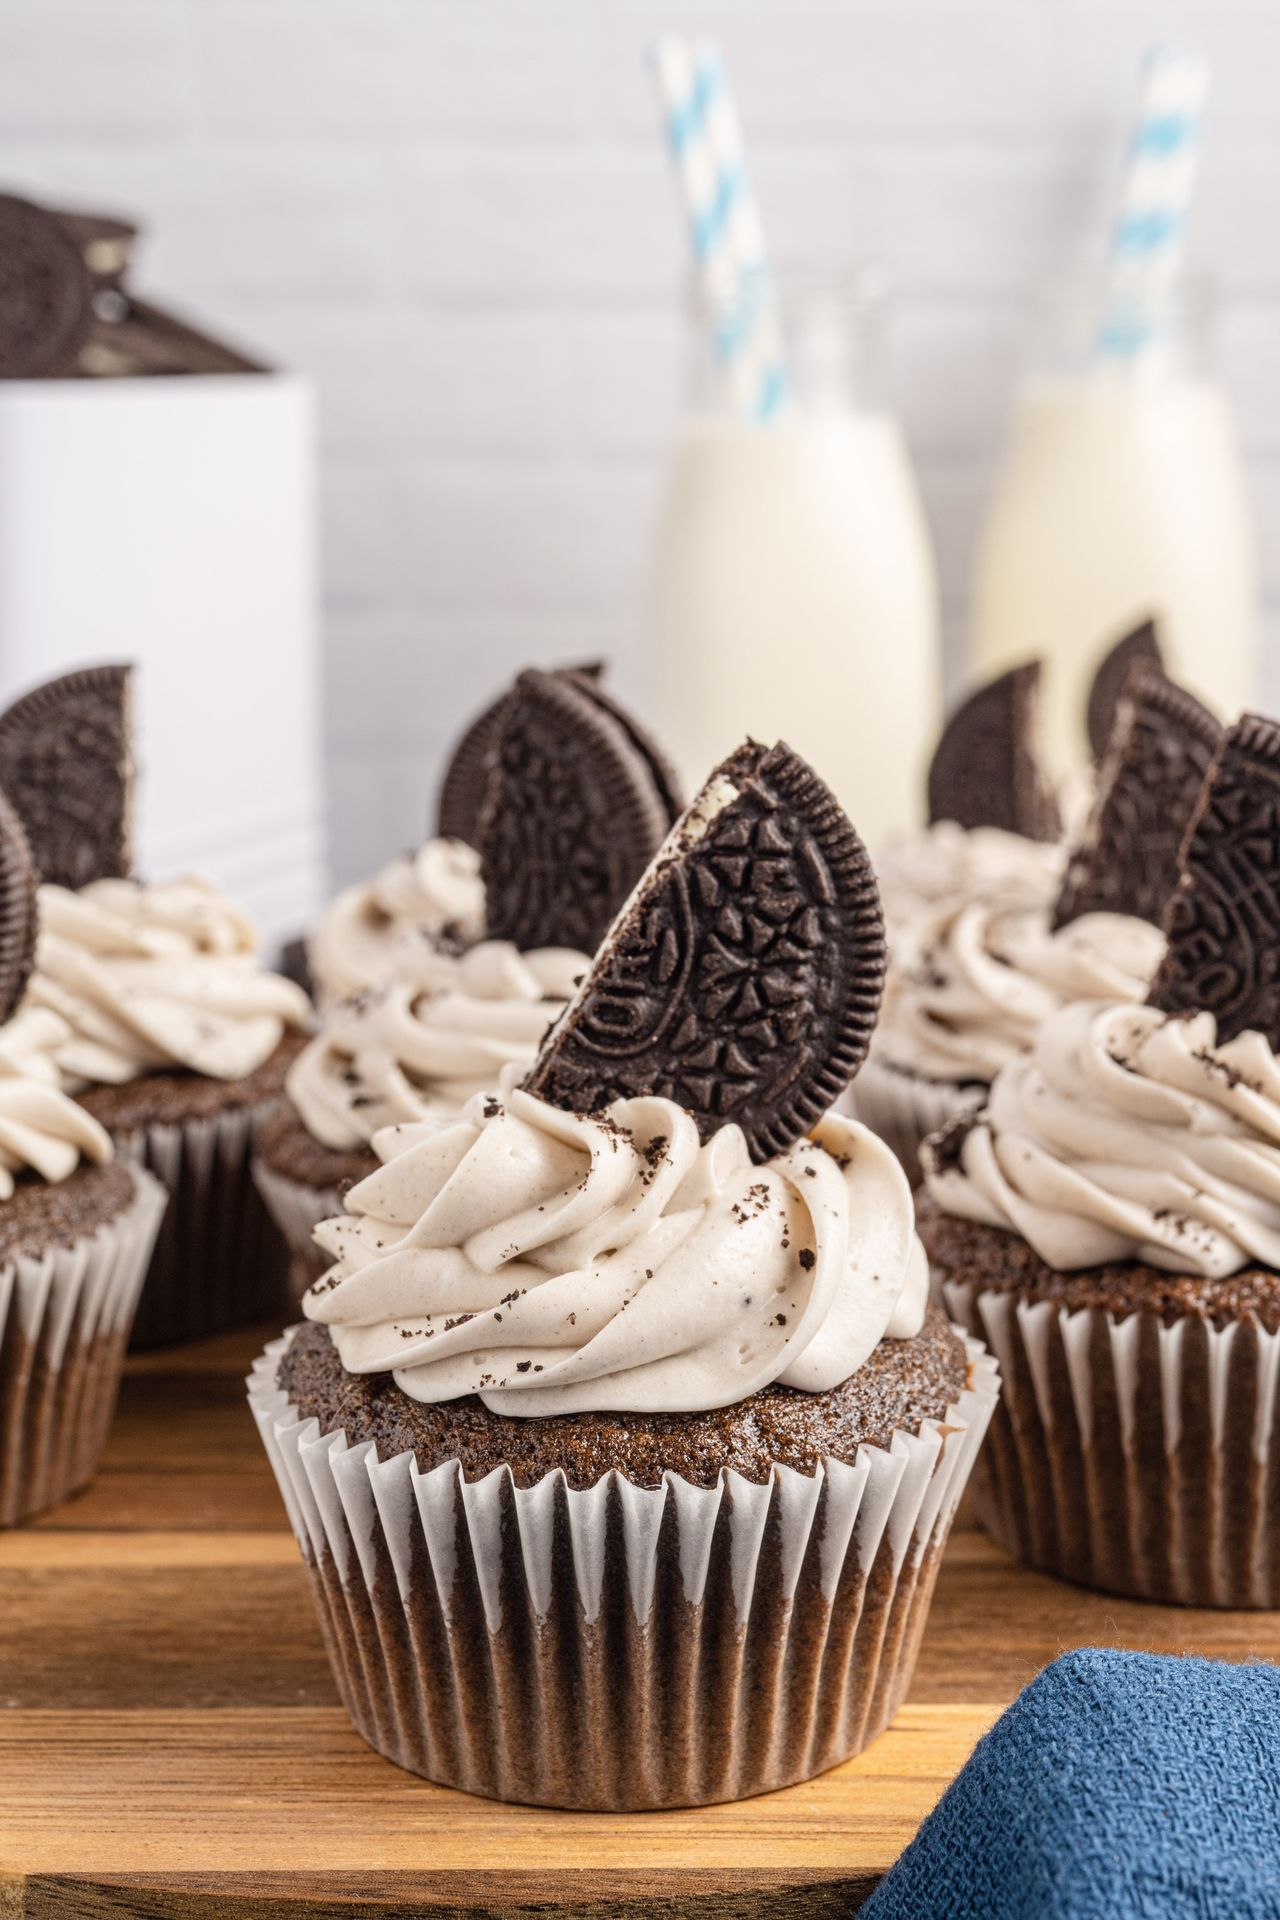
There is something magical about baking cupcakes at home. The smell of chocolate filling the kitchen. The excitement of licking the spoon. And that first soft, moist bite. These Homemade Chocolate Oreo Cupcakes bring all of that joy together in one delicious treat.
I still remember the first time I made these for my family. They disappeared in minutes! The rich chocolate flavor mixed with crunchy Oreo cookies was simply irresistible. Since then, this recipe has become one of my favorite go-to desserts.
What makes these Homemade Chocolate Oreo Cupcakes so special? They are soft, chocolaty, and filled with crushed Oreo cookies. Plus, you don’t need any fancy tools or complicated steps. Even beginners can make them easily.
And yes, they can be made a little healthier too. You can control the sugar, use better-quality ingredients, and even try lighter frosting options if you want.
Let’s get baking!
Why You Will Love This Recipe
Here are a few reasons why you’ll fall in love with these Homemade Chocolate Oreo Cupcakes:
- Super rich chocolate flavor with crunchy Oreo bits inside
- Easy to make with simple pantry ingredients
- Perfect for birthdays, parties, or tea time
- Kid-friendly and crowd-pleasing
- Can be made ahead and stored easily
If you love chocolate desserts and Oreo cookies, this recipe is made for you.
Ingredients List
Here’s everything you need to make these delicious chocolate Oreo cupcakes:
For the Cupcakes:
- 1 cup all-purpose flour
- ½ cup unsweetened cocoa powder
- 1 cup sugar
- 1 teaspoon baking powder
- ½ teaspoon baking soda
- ¼ teaspoon salt
- 2 large eggs
- ½ cup vegetable oil
- ½ cup milk
- 1 teaspoon vanilla extract
- ½ cup hot water
- 10 Oreo cookies (crushed)
For the Oreo Buttercream Frosting:
- 1 cup unsalted butter (softened)
- 2½ cups powdered sugar
- ½ cup crushed Oreo cookies
- 1–2 tablespoons milk
- 1 teaspoon vanilla extract
All ingredients are easy to find at your local grocery store.
Step-by-Step Instructions
Step 1: Preheat the Oven
Preheat your oven to 180°C (350°F).
Line a cupcake tray with paper liners.
Step 2: Mix the Dry Ingredients
In a large bowl, add:
- Flour
- Cocoa powder
- Sugar
- Baking powder
- Baking soda
- Salt
Mix everything well using a whisk.
Step 3: Add the Wet Ingredients
Add eggs, oil, milk, and vanilla extract to the dry mixture.
Mix until smooth.
Now slowly add hot water. The batter will look thin — that’s okay! This makes the cupcakes soft and moist.
Step 4: Add Crushed Oreos
Gently fold in the crushed Oreo cookies.
Do not overmix.
Step 5: Bake
Fill each cupcake liner about ¾ full.
Bake for 18–22 minutes.
Insert a toothpick in the center. If it comes out clean, your cupcakes are ready.
Let them cool completely before frosting.
Making the Oreo Buttercream Frosting
- Beat the softened butter until creamy.
- Slowly add powdered sugar and mix well.
- Add vanilla extract and milk. Beat until fluffy.
- Fold in crushed Oreo cookies.
Pipe or spread the frosting on cooled cupcakes.
Top with a mini Oreo for extra decoration if you like.
Now your Homemade Chocolate Oreo Cupcakes are ready!
Pro Tips & Variations
Here are some helpful tips to make your cupcakes perfect:
✔ Use Room Temperature Ingredients
Eggs and milk mix better when they are not cold.
✔ Do Not Overmix
Overmixing can make cupcakes dense instead of soft.
✔ Try a Cream Cheese Frosting
If you prefer less sweetness, use cream cheese frosting instead of buttercream.
✔ Add a Hidden Oreo Surprise
Place a whole Oreo at the bottom of each liner before pouring the batter. It adds a fun surprise inside!
✔ Make Them Healthier
- Use whole wheat flour instead of all-purpose flour
- Reduce sugar slightly
- Use Greek yogurt instead of some oil
Small changes can make a big difference.
Health Benefits
While these Homemade Chocolate Oreo Cupcakes are definitely a treat, homemade baking has its own benefits.
- You control the quality of ingredients.
- No preservatives like store-bought cupcakes.
- Cocoa powder contains antioxidants.
- Baking at home reduces processed food intake.
Enjoying desserts in moderation is part of a balanced lifestyle. It’s about joy and mindful eating, not restriction.
Serving Suggestions
These chocolate Oreo cupcakes are perfect for:
- Birthday parties
- School events
- Family gatherings
- Tea or coffee time
- Weekend dessert cravings
Serve them with a glass of cold milk or a hot cup of coffee. They also look beautiful on a dessert table.
If you want to make them extra special, drizzle chocolate sauce on top.
Storage Tips
Room Temperature:
Store in an airtight container for up to 2 days.
Refrigerator:
Keep in the fridge for up to 5 days.
Bring to room temperature before serving for best taste.
Freezer:
You can freeze unfrosted cupcakes for up to 2 months.
Wrap them tightly in plastic wrap.
This makes Homemade Chocolate Oreo Cupcakes perfect for making ahead.
Frequently Asked Questions (FAQs)
1. Can I use boxed cake mix instead?
Yes, you can. But homemade gives better flavor and texture.
2. Can I make these cupcakes eggless?
Yes. Replace each egg with ¼ cup yogurt or unsweetened applesauce.
3. How do I make them extra moist?
Do not overbake. Also, the hot water in the batter keeps them soft.
4. Can I use chocolate chips?
Absolutely! Add ¼ cup chocolate chips for extra richness.
5. Can I make mini cupcakes?
Yes. Bake mini cupcakes for 10–12 minutes instead.
Conclusion
These Homemade Chocolate Oreo Cupcakes are soft, rich, and full of chocolatey goodness. They are simple enough for beginners and delicious enough to impress everyone.
I truly love making these for my family because they always bring smiles. Baking at home feels special. It creates memories.
If you are craving something sweet and comforting, try these Homemade Chocolate Oreo Cupcakes today. I promise, once you make them, you’ll want to bake them again and again.
Happy baking! 🍫🧁

Leave a Reply