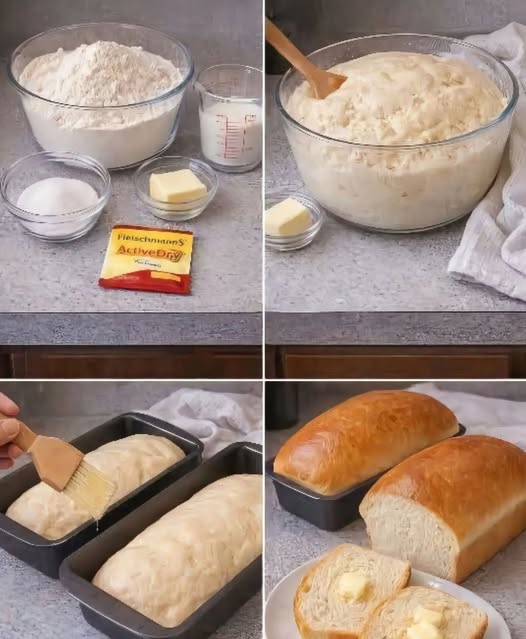
Have you ever wanted fresh, warm bread without turning on your oven? That’s exactly why I love making AIR FRYES BREAD. It’s quick, simple, and turns out perfectly golden and crispy every single time.
The first time I tried making bread in my air fryer, I honestly didn’t expect much. But when I sliced into that soft, fluffy center with a crispy crust, I was amazed. Since then, this recipe has become my go-to when I need bread fast.
What makes AIR FRYES BREAD special is that it uses less oil than traditional frying and cooks much faster than baking. It’s lighter, healthier, and perfect for small families or anyone who doesn’t want to heat up the whole kitchen.
If you’re a beginner, don’t worry. This recipe is very forgiving and super easy to follow. Let’s get started!
Why You Will Love This Recipe
Here are a few reasons why you’ll fall in love with AIR FRYES BREAD:
- ❤️ Quick and easy – Ready in under 20 minutes.
- 🥖 Crispy outside, soft inside – The perfect texture.
- 🌱 Healthier option – Uses very little oil.
- 👩🍳 Beginner-friendly – No special skills needed.
- 🧼 Less mess – No big oven cleanup.
This recipe is perfect for busy mornings, quick dinners, or even late-night cravings.
Ingredients List
You only need simple pantry ingredients to make AIR FRYES BREAD:
- 2 cups all-purpose flour
- 1 teaspoon baking powder
- ½ teaspoon salt
- 1 teaspoon sugar
- 1 tablespoon olive oil
- ¾ cup warm milk (or water)
- 1 tablespoon melted butter (for brushing, optional)
All these ingredients are easy to find and budget-friendly.
Step-by-Step Instructions
Step 1: Mix the Dry Ingredients
In a large bowl, add flour, baking powder, salt, and sugar. Mix well with a spoon.
Tip: Make sure everything is evenly combined so your bread rises properly.
Step 2: Add Wet Ingredients
Add olive oil and warm milk to the dry mixture. Mix slowly until a soft dough forms.
If the dough feels too sticky, add a little flour. If it feels too dry, add a small splash of milk.
Step 3: Knead the Dough
Place the dough on a clean surface. Knead for about 3–4 minutes until smooth.
Don’t over-knead. Just knead until the dough feels soft and elastic.
Step 4: Shape the Bread
Divide the dough into 4 equal pieces. Shape them into small flat rounds or mini loaves.
Make sure they fit inside your air fryer basket without touching too much.
Step 5: Preheat the Air Fryer
Preheat your air fryer at 350°F (175°C) for 3–5 minutes.
Preheating helps your AIR FRYES BREAD cook evenly and get that nice golden color.
Step 6: Air Fry the Bread
Place the shaped dough into the air fryer basket. Cook at 350°F (175°C) for 8–10 minutes.
Flip halfway through cooking for even browning.
Check at 8 minutes. If needed, cook for 1–2 more minutes until golden brown.
Step 7: Brush and Serve
Once done, remove carefully and brush with melted butter if you like.
Let it cool for 5 minutes before slicing. Enjoy warm!
Pro Tips & Variations
Here are some helpful tips to make your AIR FRYES BREAD perfect every time:
🔥 Don’t Overcrowd
Always leave space between the bread pieces. Air needs to circulate for even cooking.
🧀 Add Flavor
You can mix in:
- ½ cup shredded cheese
- 1 teaspoon garlic powder
- 1 tablespoon chopped herbs
This gives your bread a fun twist.
🌾 Make It Healthier
Use whole wheat flour instead of all-purpose flour for more fiber.
❌ Mistakes to Avoid
- Don’t skip preheating.
- Don’t make the dough too thick.
- Don’t cook at very high temperature, or the outside will burn before the inside cooks.
Small adjustments make a big difference!
Health Benefits of AIR FRYES BREAD
One reason I love making bread in the air fryer is that it’s a healthier alternative to deep frying.
Here’s why:
- ✅ Uses very little oil
- ✅ Lower in calories than fried bread
- ✅ Can be made with whole wheat flour
- ✅ No preservatives like store-bought bread
If you’re trying to eat cleaner or reduce processed food, homemade AIR FRYES BREAD is a great option. You control the ingredients. You know exactly what goes into your food.
It’s perfect for balanced diets and portion control too.
Serving Suggestions
There are so many ways to enjoy this bread!
Here are my favorite ideas:
- 🥪 Use it for sandwiches
- 🍳 Serve with eggs for breakfast
- 🥣 Dip into soup
- 🧄 Spread garlic butter on top
- 🍯 Drizzle with honey for a sweet snack
It’s perfect for breakfast, lunch, dinner, or even as a quick snack.
Sometimes I make a batch in the evening and enjoy it warm with tea. Simple moments like that feel so comforting.
Storage Tips
If you have leftovers (which rarely happens in my house!), here’s how to store them:
Room Temperature
Store in an airtight container for up to 2 days.
Refrigerator
Keep in a sealed container for up to 5 days.
Freezer
Wrap tightly in plastic wrap and freeze for up to 2 months.
To reheat, simply place back in the air fryer at 320°F (160°C) for 2–3 minutes. It becomes crispy again!
Frequently Asked Questions (FAQs)
1. Can I make AIR FRYES BREAD without milk?
Yes! You can replace milk with warm water or even plant-based milk like almond milk.
2. Why is my bread not fluffy?
It may be because the baking powder is old. Always check the freshness of your ingredients.
3. Can I use yeast instead of baking powder?
Yes, but the recipe will change. You’ll need to let the dough rise for at least 1 hour before air frying.
4. How do I know when the bread is fully cooked?
Tap the bottom. If it sounds hollow, it’s done.
5. Can I double the recipe?
Absolutely! Just cook in batches so the air fryer is not overcrowded.
Conclusion
Making AIR FRYES BREAD at home is easier than you think. It’s quick, healthier than deep frying, and tastes amazing fresh and warm. Even if you’ve never made bread before, this simple recipe will guide you step by step.
I truly love how fast and satisfying this recipe is. There’s something special about pulling warm bread out of the air fryer and sharing it with family.
Give this recipe a try today. Once you taste your homemade AIR FRYES BREAD, you’ll never look at store-bought bread the same way again!

Leave a Reply